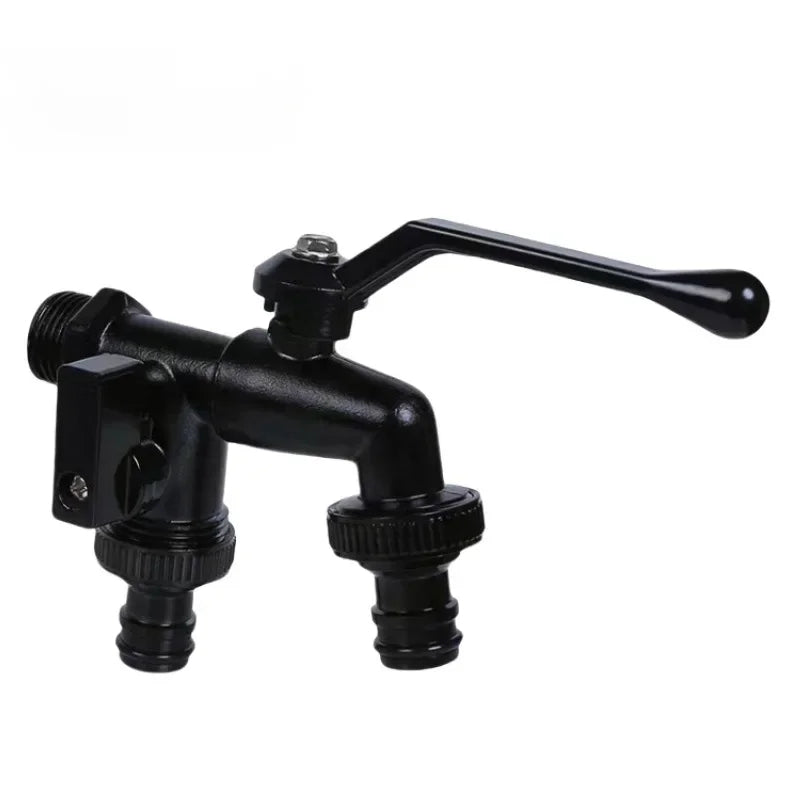
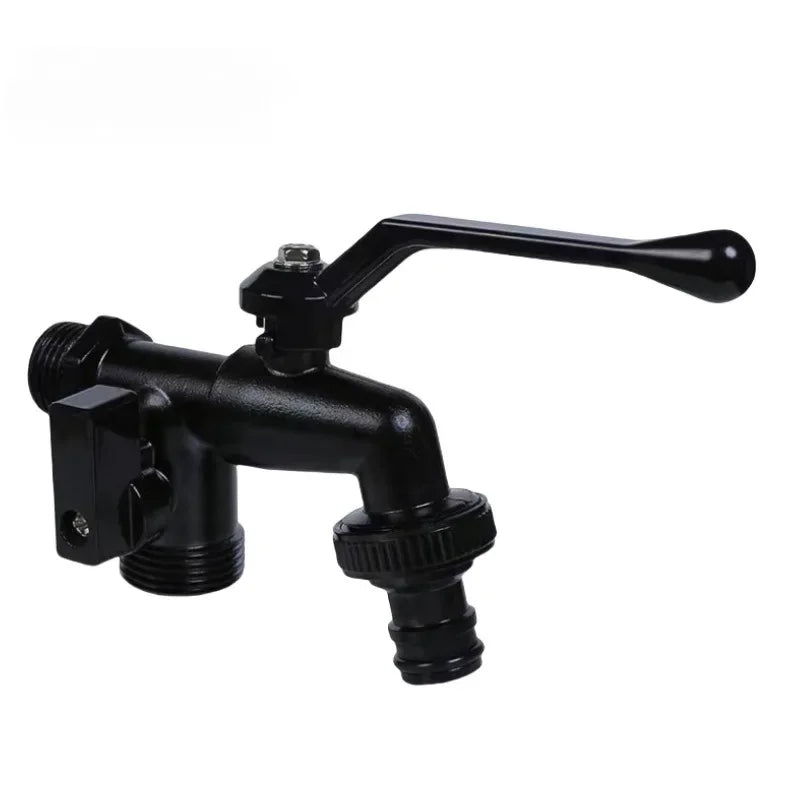
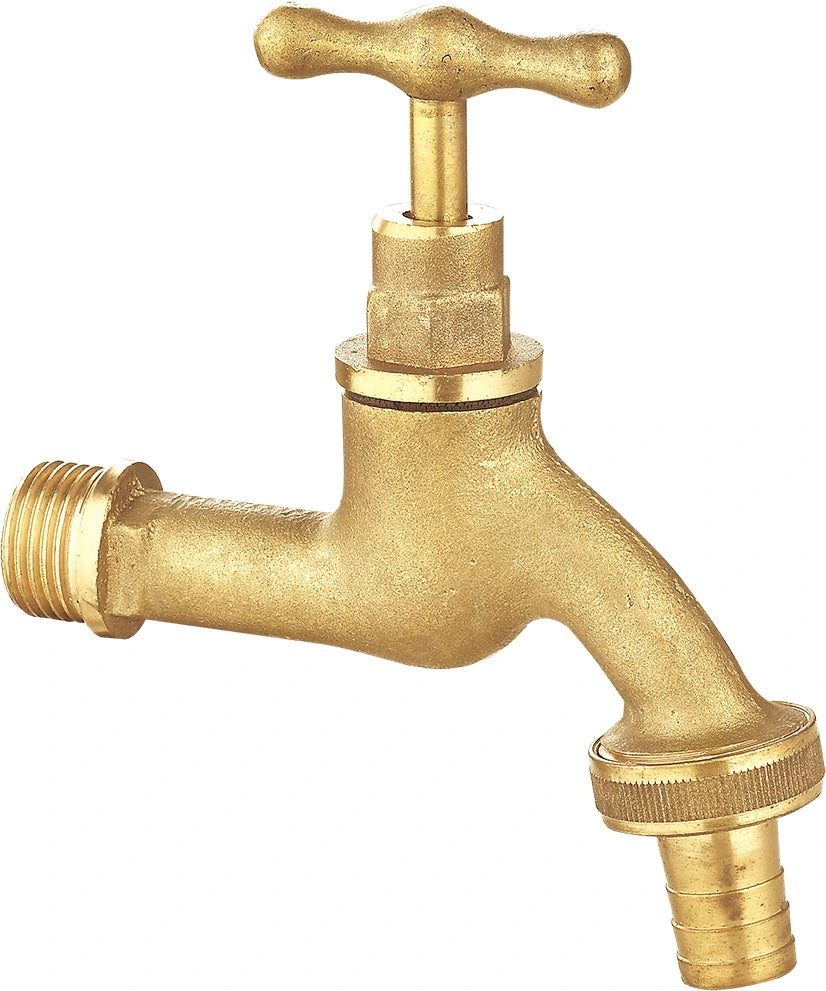
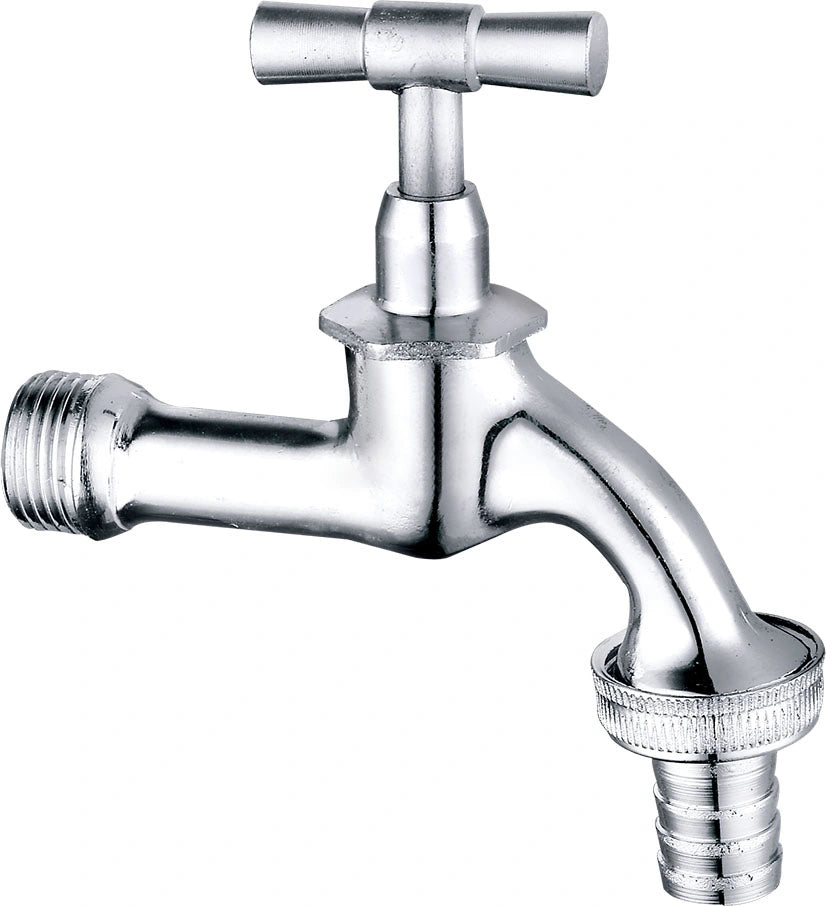
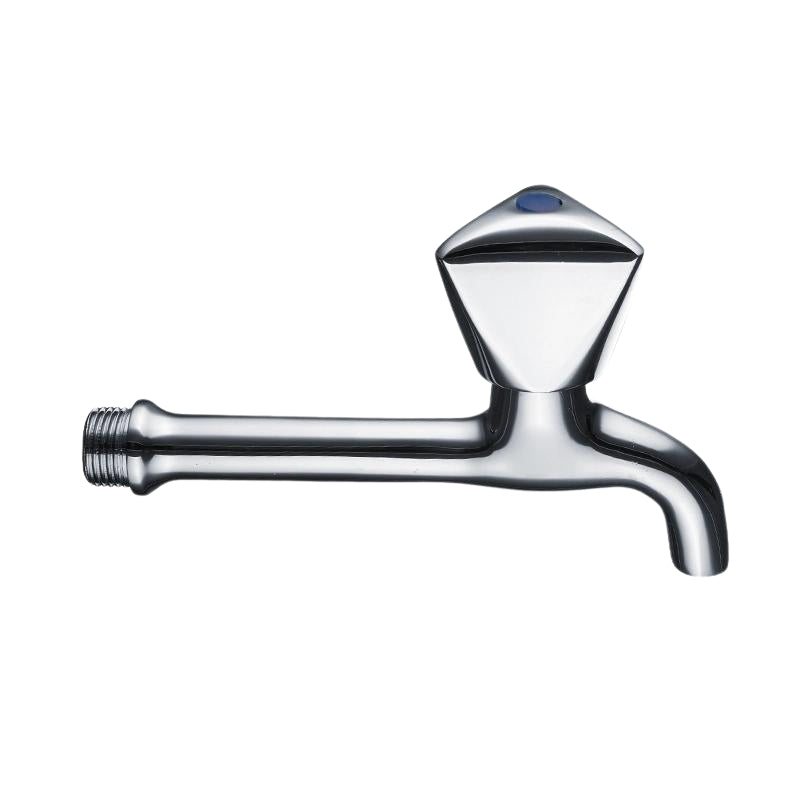
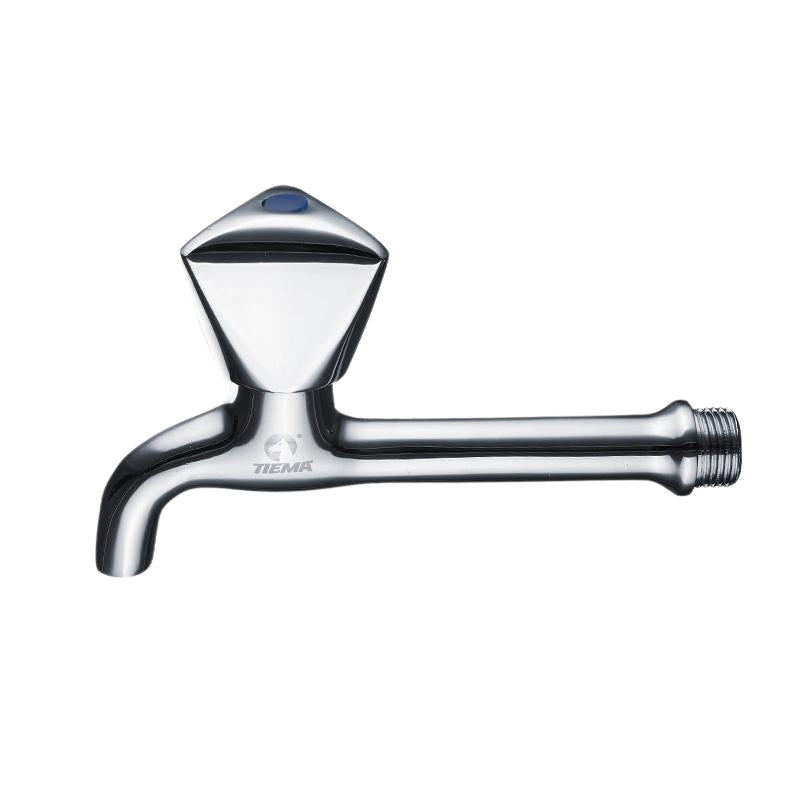
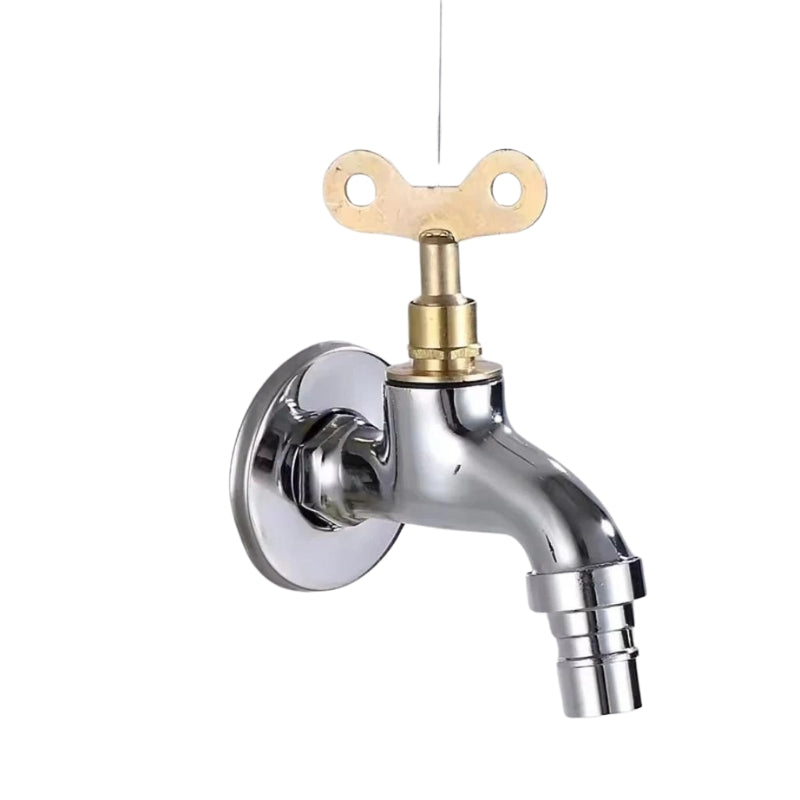
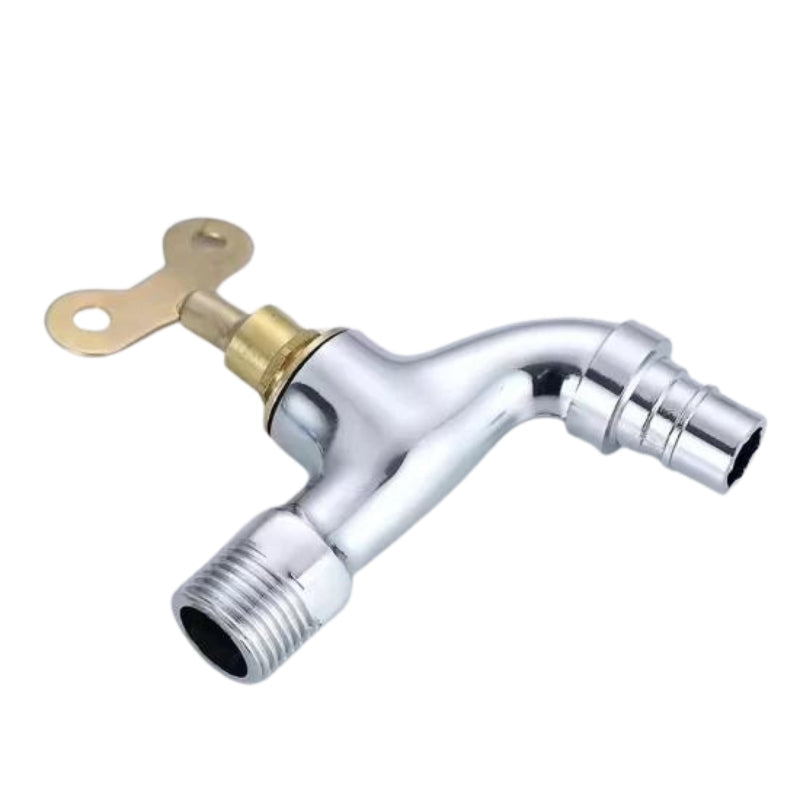
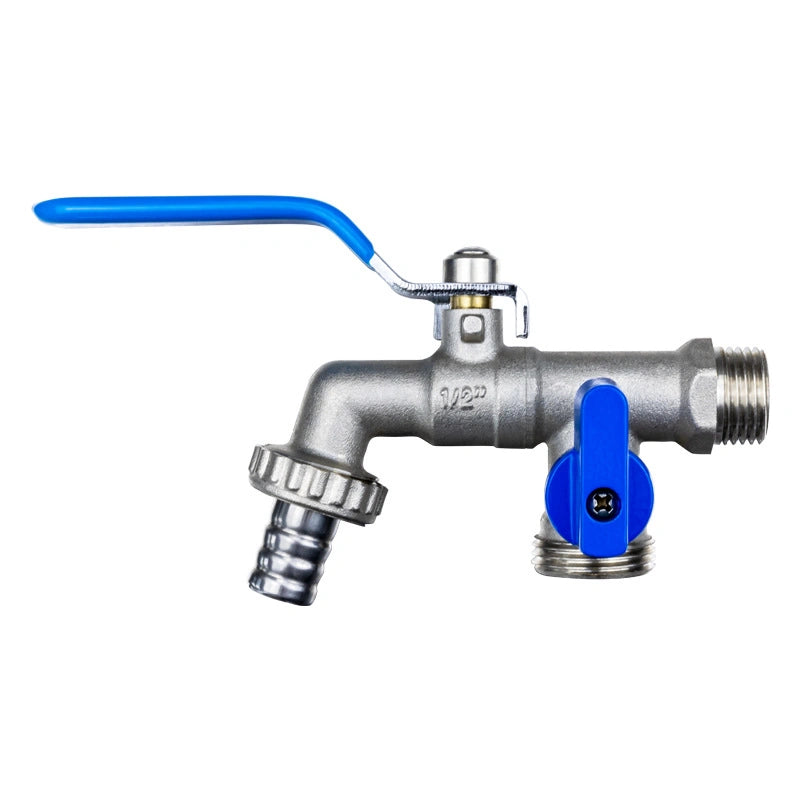
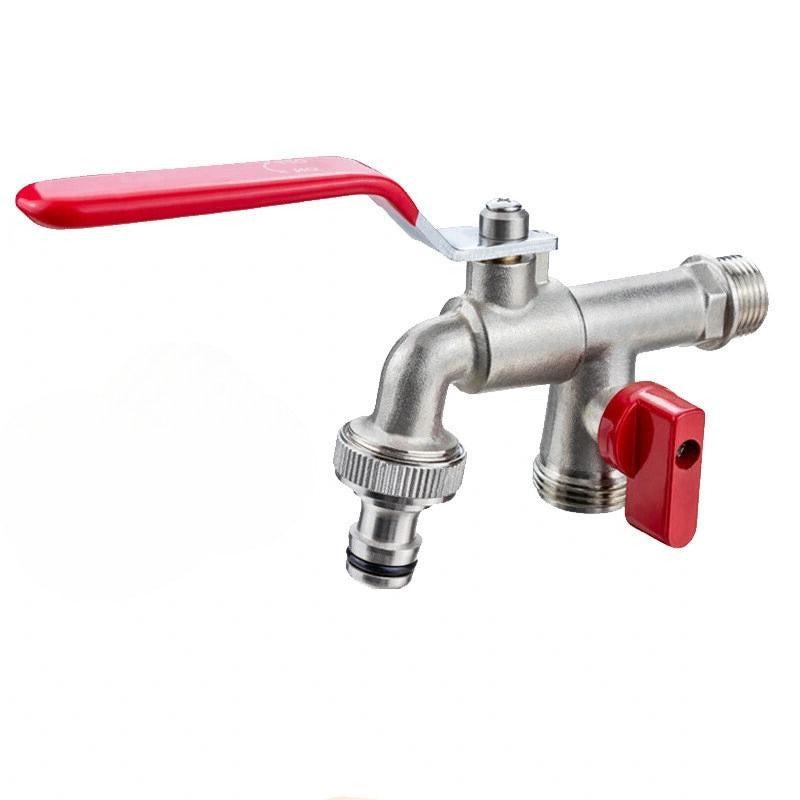
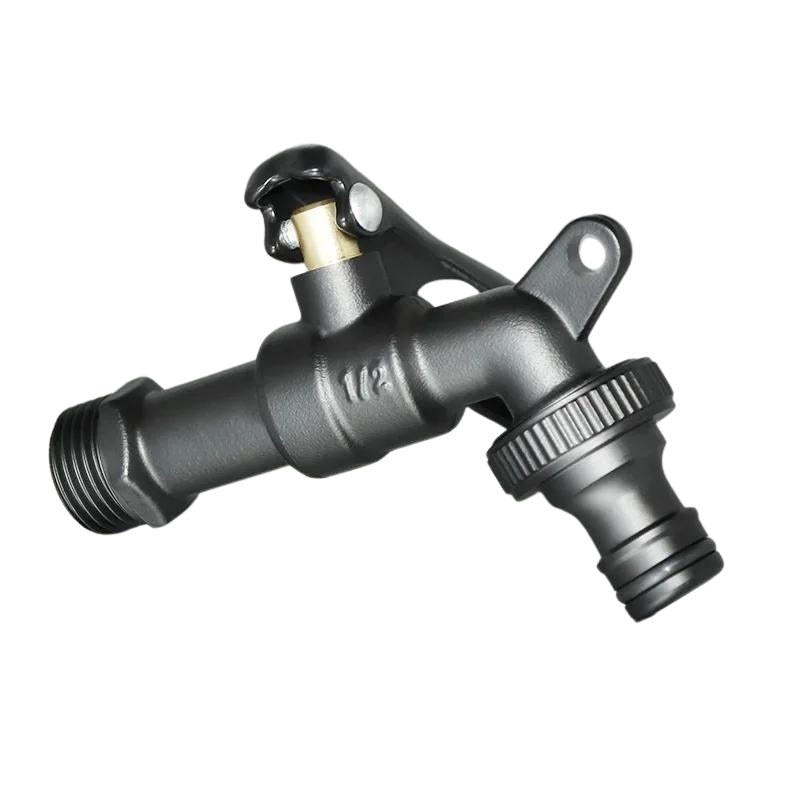
To stop an outdoor tap freezing, shut off its water supply indoors before the first frosts, open the tap to drain it and leave it open all winter. If there is no dedicated stop valve, or if you want permanent protection, a frost-proof tap stops water sitting in the part exposed to the cold.
Our frost-proof outdoor taps are designed for exactly this; for a simple garden tap that you drain every autumn, a standard wall-mounted outdoor tap will do. In winter, outdoor taps remain a weak point in your plumbing: standing water, frost, then a split body or pipe. Here are the methods, step by step.
1. Turn off the water supply and drain the system
The most effective option is still to close the internal valve feeding the outdoor taps, then open them to let every trace of water out. That way, even if it freezes outside, there is no water left inside to expand and burst the pipe. It is also the advice on our product pages: drain before the first frosts and leave the tap open all winter. A body full of water that freezes will burst without warning. If it is too late and the body has split, here is how to replace an outdoor tap split by frost, connector included.
Disconnect the garden hose too: left screwed on, it holds water against the tap and stops it draining.
2. Fit a frost-proof outdoor tap
These models are designed to stop water staying in the exposed parts. The principle: the shut-off sits further back in the wall, on the house side where it is warmer, and the part sticking out drains when you close the tap. It is a long-term solution that works particularly well in areas where frost is frequent.
Our range of frost-proof outdoor taps is built specifically for this kind of winter protection: sturdy, reliable and high-performing. Even with a frost-proof tap, draining before winter remains the safest habit, and a hose left connected cancels out the draining effect.

3. Protect the tap with an external insulating cover
For extra protection, fit an insulating cover over the tap itself. It does not warm anything: it slows the cooling and complements draining without replacing it.
You can also improvise an emergency cover with old clothes, plastic bags and tape, a temporary fix but a useful one when a cold night is forecast.
4. Add insulation around exposed pipes
If pipes are visible on the outside or run through an unheated room, wrap them in insulating sleeves or foam. Insulating the outdoor tap without insulating the pipe that feeds it leaves the weak point in place. This limits thermal bridges and delays freezing, especially when it is very cold.
5. Let a thin trickle run if necessary
A common method is to open a tap slightly to create a thin trickle of water. This constant movement prevents a full freeze in some set-ups, but it wastes water. It is better to combine draining and insulation and keep this method for an exceptional night.
6. Check for leaks and fix them before winter
Even a tiny leak could freeze faster. Inspect the seals and connectors, then replace or tighten whatever is leaking. This preventive check takes far less effort than repairing frost damage afterwards.

7. A few extra practical tips
- Leaving cupboard doors open where pipes run lets heat circulate to vulnerable areas.
- If you are away, do not switch the heating off completely: keep a frost-protection setting so that uninsulated rooms do not become freezing zones.
- Check the weather forecast and protect your taps as soon as freezing nights are announced.
8. Comparing the options
| Solution | Advantage | Drawback | When to choose it |
|---|---|---|---|
| Draining & internal shut-off | Reliable, no cost | Must be repeated every winter | Whenever an internal stop valve exists |
| Frost-proof tap | Permanent protection | More technical to install | No dedicated valve, or tap used in winter |
| Insulating cover | Adds a layer of protection | Less effective on its own | As a complement to draining |
| Insulated pipe | Protects visible pipes | Must cover the whole exposed pipe, with no gaps | Pipe exposed outside or in an unheated room |
| Tap left dripping | Simple | Wastes water | One-night stopgap, for want of anything better |
Frozen outdoor tap: what to do?
- Do not force the handle: a frozen tap will not open, and you will snap the spindle if you insist.
- Turn off the indoor water supply, if there is one, to limit damage when it thaws.
- Warm the tap and pipe gently with a hairdryer or warm cloths. Never use a flame.
- Once the water is back, open and close the tap while checking the body and connectors.
An outdoor tap that leaks after a freeze often has a split body or a torn seal. If the leak comes from the body, it has to be replaced; this is the right moment to switch to a frost-proof model.
The questions we get asked most
Should you leave an outdoor tap open in winter?
Yes, once the supply is shut off indoors and the tap has been drained. Left open, it lets any remaining water escape and is under no pressure. Closed without being drained, it keeps water that can freeze.
How do you protect an outdoor tap from frost without a stop valve?
Without a dedicated valve, draining is not possible unless you shut off the water to the whole house. Insulate the tap and pipe in the meantime, then have an internal stop valve added or fit a frost-proof tap.
Why does a frost-proof tap leak?
Most often because a hose was left connected during the freeze: the water could not drain and the inner part suffered. A worn seal at closing also causes a flow at the outlet. In both cases, shut off the water upstream before doing anything.
Which tap should you choose for outdoors?
It all depends on the use: watering, a garden tap, or hot and cold water. Our guide on whether any tap can be used outdoors compares the options.