
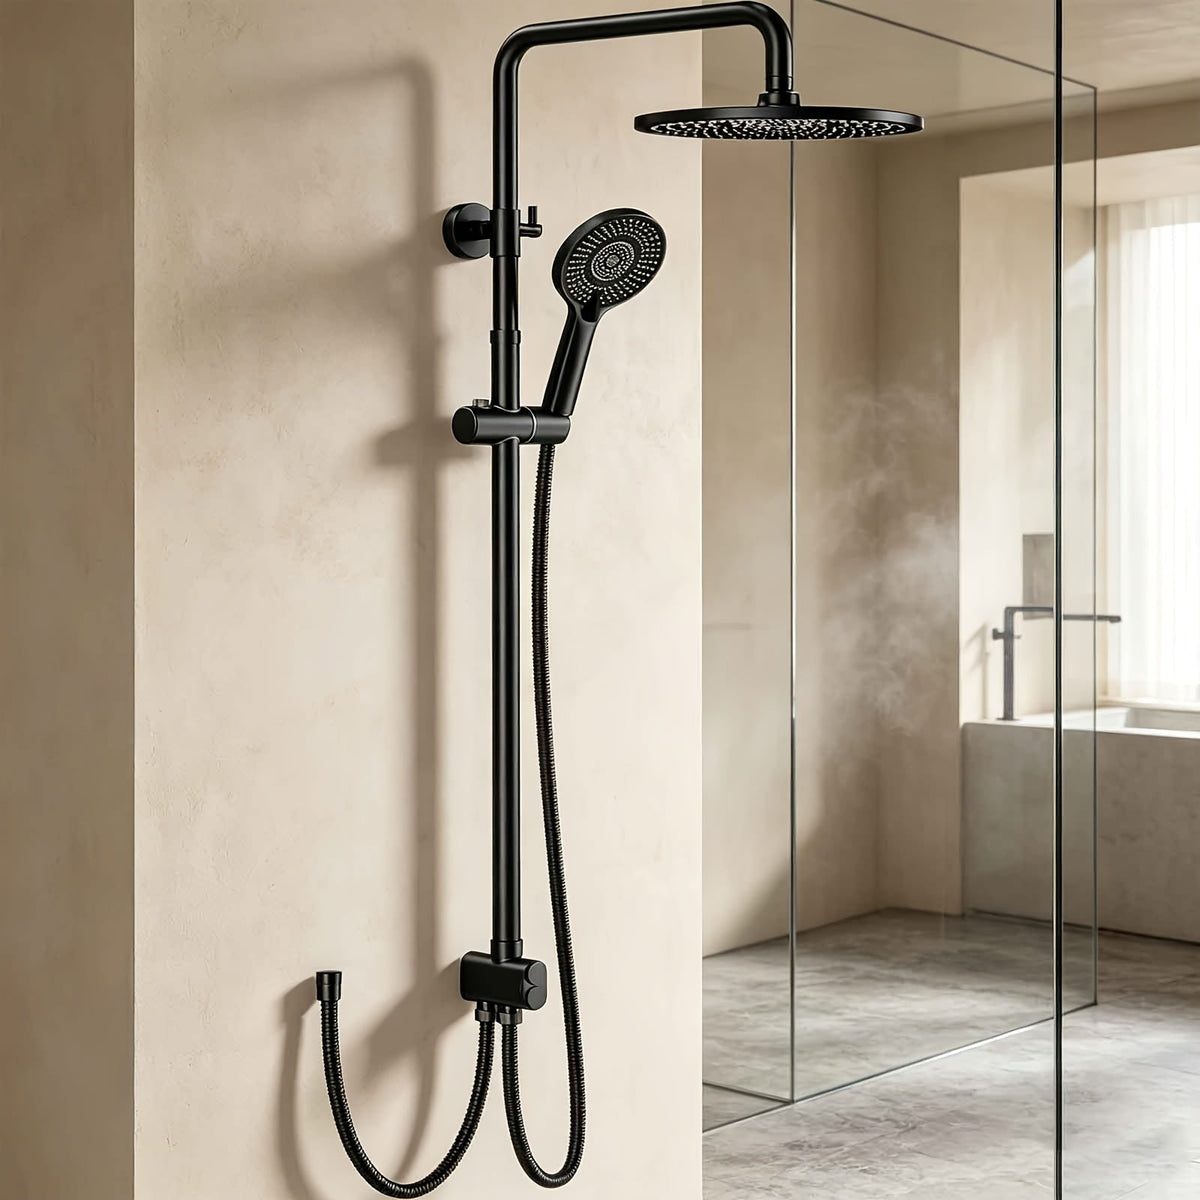
A shower column is fitted so that the overhead shower sits between 2.00 m and 2.10 m above the finished floor, or the bottom of the shower tray, with the mixer at around 1.10 m. It screws onto the two wall water supplies, 15 cm apart, then the rail is fixed to the wall in line and level.
Before choosing your shower column, measure three things: the centre distance between the water supplies, their height, and the ceiling height. These tell you which model fits your home without any building work.
What height to fit a shower column
The guideline that drives the installation is the overhead shower: it must clear the head of the tallest person in the household, at around 2.00 m to 2.10 m. The mixer stays at hand height, around 1.10 m. In between, the rail makes the difference.
That is why most columns have an adjustable rail. A few examples from our product pages:
- the black thermostatic shower column with 30 x 20 cm rain shower (€249.90) states an adjustable height of 74 to 113 cm;
- the black column without mixer with 25 cm rain shower (€197.90) adjusts from 80 to 108 cm;
- the retro gold brass column (€314.90) adjusts from 85 to 132 cm, with a 33 cm arm;
- the chrome column with 1.20 m adjustable rail (€258.90) has an adjustable rail from 90 to 120 cm.
To know whether a model suits, add the column's height, set at its highest and lowest, to the height of your mixer: the overhead shower must be able to land in the target range, and stay under the ceiling. All the shower heights, mixer, shower head and handset, are brought together in our table on the height of the shower mixer and shower head.
Checking the centres and the water supplies
The centre distance is the gap between the centres of the hot and cold water supplies. In France, it is almost always 15 cm, and several of our column product pages state it. The eccentric fittings screwed into the wall turn to make up a small difference and level the mixer.
Also look at how the water arrives today. If your mixer already comes out of the wall, an exposed column fits onto the existing outlets, without chasing: that is what the product pages of our wall-mounted columns say. A concealed column, on the other hand, means opening the wall to house the body of the mixer.
With or without mixer, thermostatic or not
A shower column without mixer connects to the mixer already fitted: the existing tapware stays, only the rail, the overhead shower and the handset change. If your shower has no wall mixer, you need one.
A thermostatic shower column keeps the temperature stable when another tap is opened in the house. The product pages of our thermostatic columns advise checking the pressure before buying: below 1.5 bar, a thermostatic mixer regulates poorly.
The equipment for fitting a shower column
- a drill and a drill bit suited to tiles;
- wall plugs chosen to suit the wall, solid or hollow;
- a spirit level, a tape measure and a pencil;
- an open-ended or adjustable spanner, PTFE tape;
- the supplied washers, a cloth and a bucket.
Fitting the shower column, step by step
- Turn off the water. Close the mains supply or the bathroom valves, then open the tap to drain the system.
- Remove the old mixer. Unscrew it from its fittings and clean the threads.
- Adjust the eccentric fittings. Screw them in with PTFE tape, then turn them until you get back to 15 cm centres and two level outlets. Fit the cover plates.
- Fit the mixer. Place the washers, offer up the mixer, screw the nuts on by hand then moderately with the spanner.
- Mark out the rail. Offer the column up to the mixer, check the height of the overhead shower, and mark the fixing holes in pencil in line and level.
- Drill and plug. Drill the tiles without hammer action so as not to crack them, then insert the wall plugs. A dab of silicone in each hole limits seepage behind the tiles.
- Fix the rail and connect. Screw on the rail, fit the overhead shower, then screw the hose between the diverter and the handset.
- Reopen the water and test. Open slowly, try the overhead shower then the handset, and run a dry piece of paper over each fitting: it should stay dry.
Replacing a shower column that is already fitted
Replacing a shower column means first removing the old one in the reverse order of fitting: turn off the water and drain, unscrew the handset and its hose, then the overhead shower and its arm, and finally the rail and its fixings. The mixer only comes off if the new column has its own tapware.
Keep the mixer or change everything?
If your mixer works well, a column without tapware connects to it: 7 of the 78 active columns in our range are sold this way. To change everything at once, a column with a mixer replaces the wall mixer, the rail and the shower head in a single unit, as 35 of our product pages state. It screws onto the existing eccentric fittings: all 78 column product pages state a standard 15 cm centre distance, and 64 describe fitting onto the existing water supplies, without touching the tiles.
The old fixing holes
The holes for the new rail do not necessarily line up with the old ones. Offer the column up to the mixer, mark out from it, then fill the old holes before drilling the new ones, so that water cannot get behind the tiles.
Washers and eccentric fittings
Take the opportunity while it is apart to fit new washers on the mixer and hose nuts. If the eccentric fittings are seized or scaled up, change them at the same time: the procedure is in our guide on keeping or replacing the eccentric fittings of a wall-mounted mixer.
The mistakes that force you to take it apart
- Drilling before offering up the column. Once the mixer is fitted, the rail has only one possible position: mark out from the mixer.
- Forgetting the ceiling. An overhead shower that is too high cannot be set lower than its stop: check the total height on the product page.
- Overtightening. A crushed washer leaks. Tighten moderately and only tighten more if a fitting weeps.
- Screwing on the shower head without checking the thread. Handsets and hoses mostly screw on in 1/2″: the detail is in our article on standard shower heads.
The questions we get asked most
What is the ideal height for a shower column?
The one that puts the overhead shower between 2.00 m and 2.10 m above the finished floor, with the mixer at 1.10 m. The height of the column itself therefore depends on that of your water supplies: a column with an adjustable rail makes up the difference.
What ceiling height do you need for a shower column?
The overhead shower and its arm must fit under the ceiling once the rail is adjusted. Add the height of your water supplies to the column height stated on the product page, at its lowest setting, and compare with the ceiling before ordering.
Can you fit a shower column without a plumber?
Yes, when the mixer already comes out of the wall and the centres are 15 cm: the installation is done on the existing fittings, with a drill and a spanner. A plumber becomes useful if the water supplies have to be moved, or for a concealed column.
How do you fit a shower head on the column?
The overhead shower screws onto the end of the arm, the handset onto the end of the hose, by hand then with a spanner without forcing, washer in place. The hose links the handset to the diverter outlet, under the mixer.
