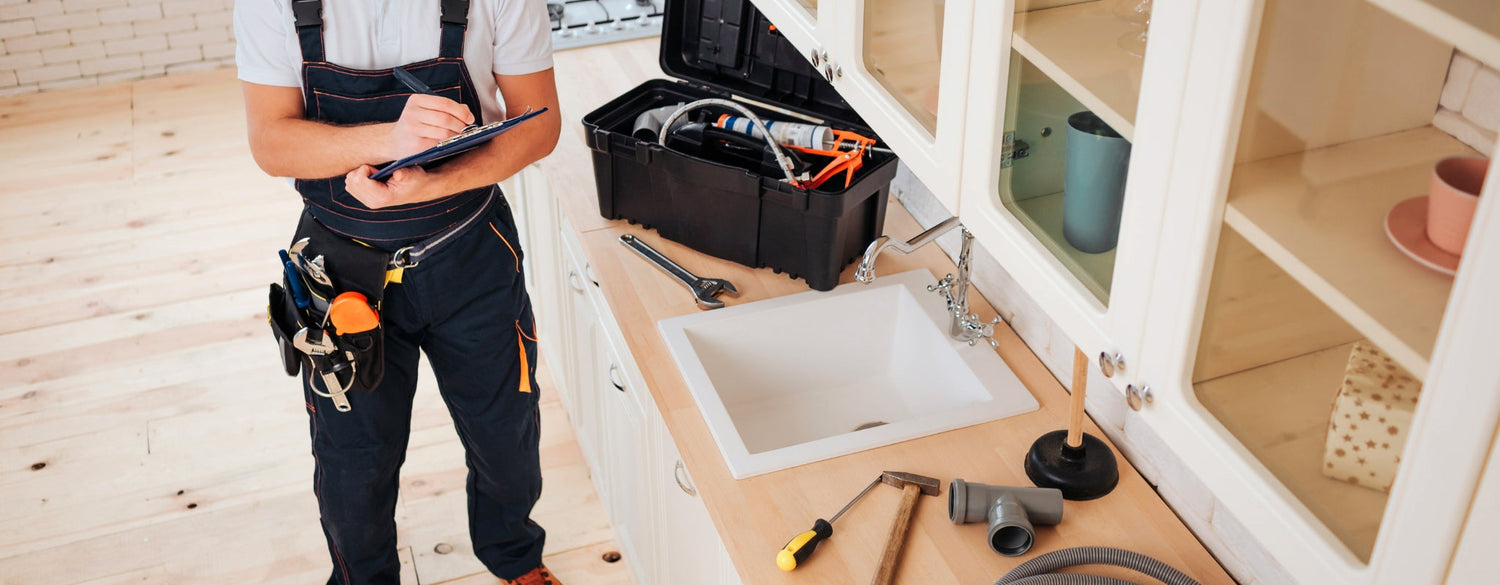
Changing a kitchen tap or mixer tap is not difficult: allow less than an hour for a standard model, with a spanner, grips and a bucket. You turn off the water under the sink, unscrew the flexible hoses and the fixing nut, lift the old tap out from above, then fit the new one in the same hole before reconnecting everything. You can choose your model from our kitchen taps or our single-lever kitchen mixer taps. The procedure is the same for a kitchen sink tap with two heads.
A kitchen mixer tap that leaks or no longer works properly can quickly become a nuisance day to day. The same goes for a sink mixer tap: the new one fits in the same hole as the old one. Fortunately, replacing it is often a job within reach, even for a beginner at DIY. All it takes is a little organisation, the right tools and a clear method. Here is a complete guide to help you make the right choice and carry out the job with confidence.
Why replace a tap or mixer tap?
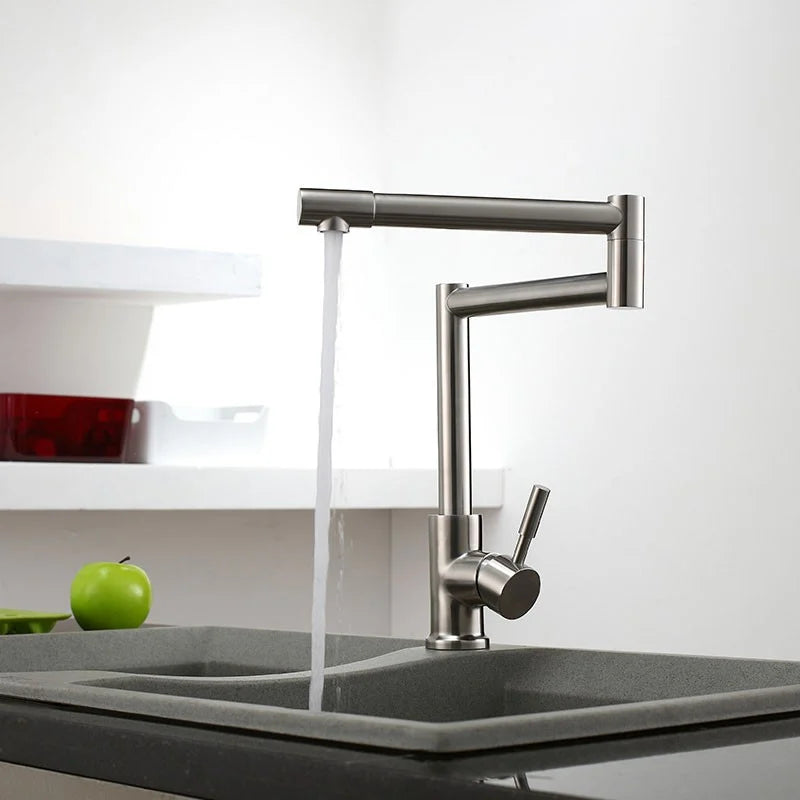
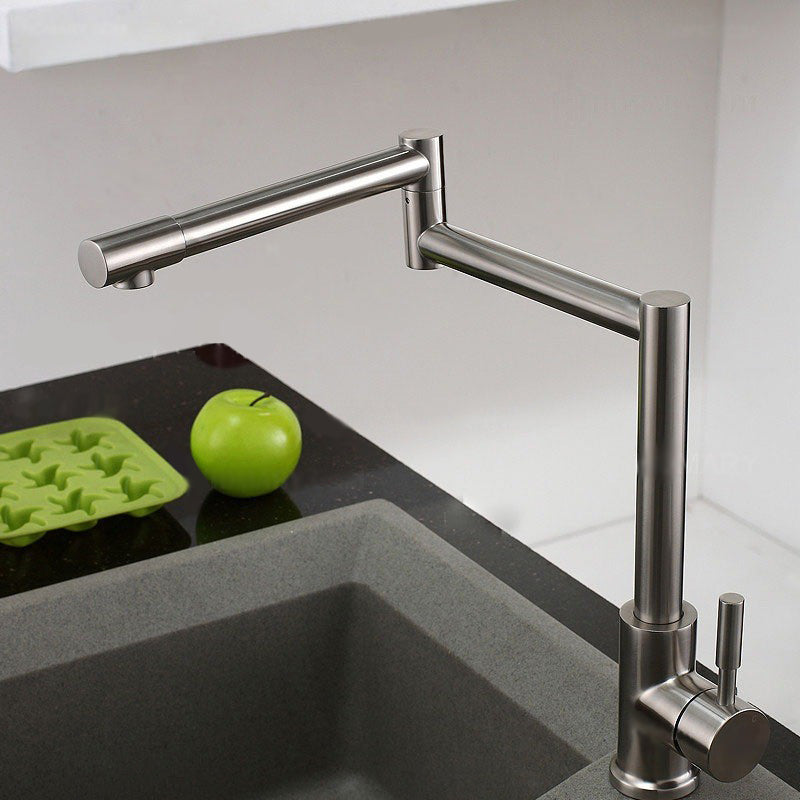
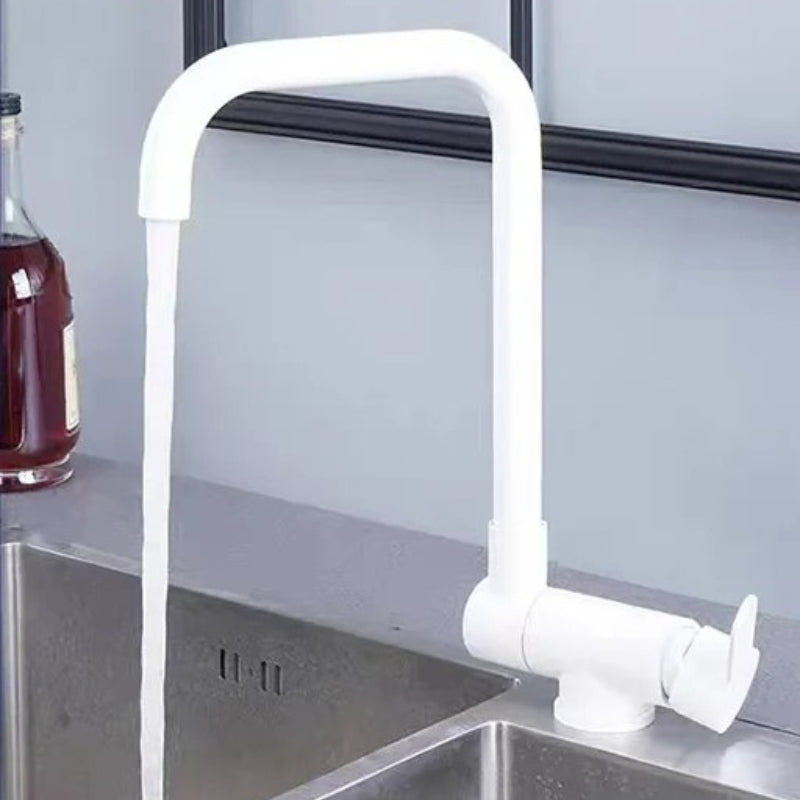
The reasons can vary: a leak at the spout, a loose handle, low flow or a faulty mixing mechanism. Over time, a tap can also seize up or lose flow. Replacing it can also be a chance to update your installation with a better-performing or better-looking model, or to meet a specific need: a fold-down model under a window, a pull-out spray for heavy use.
Whether you want a standard model, a thermostatic one or one with a pull-out spray, there is a wide range to meet your needs.
Which type of mixer tap should you fit?
- Standard sink mixer tap: simple, reliable and easy to install.
- Thermostatic kitchen mixer tap: lets you set the temperature precisely.
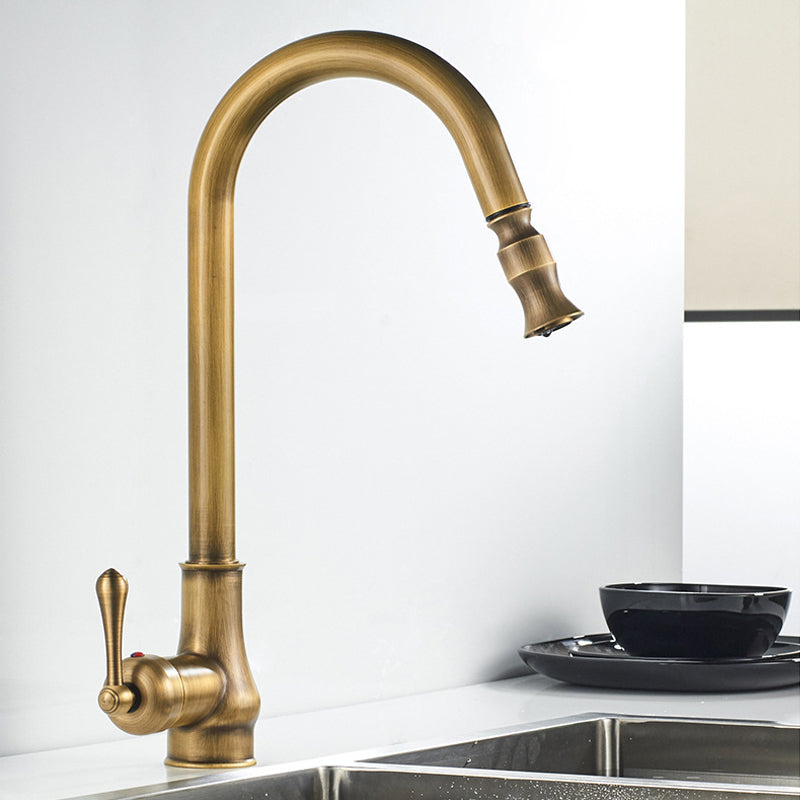
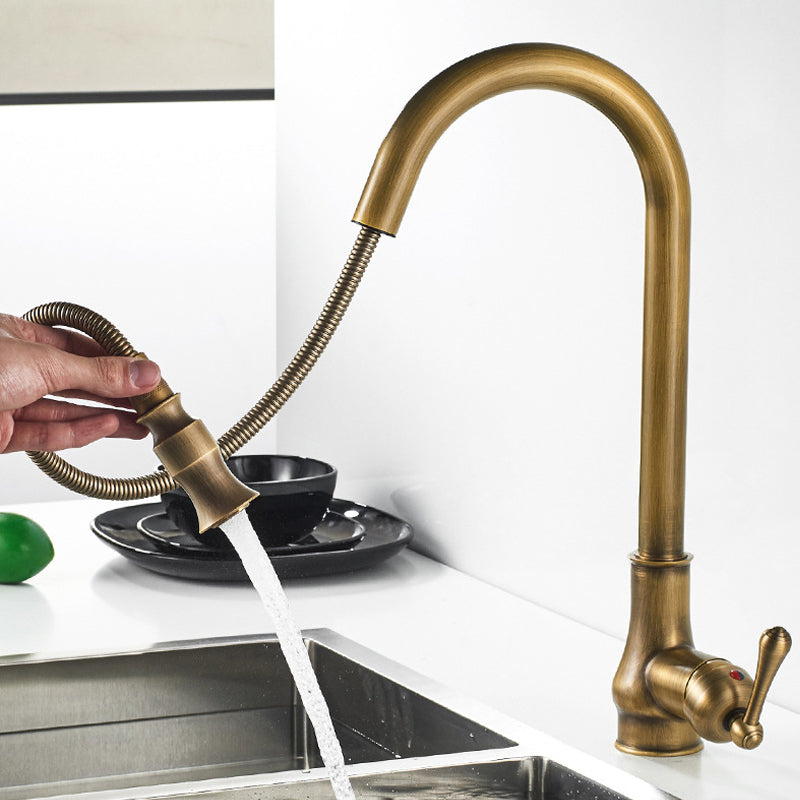
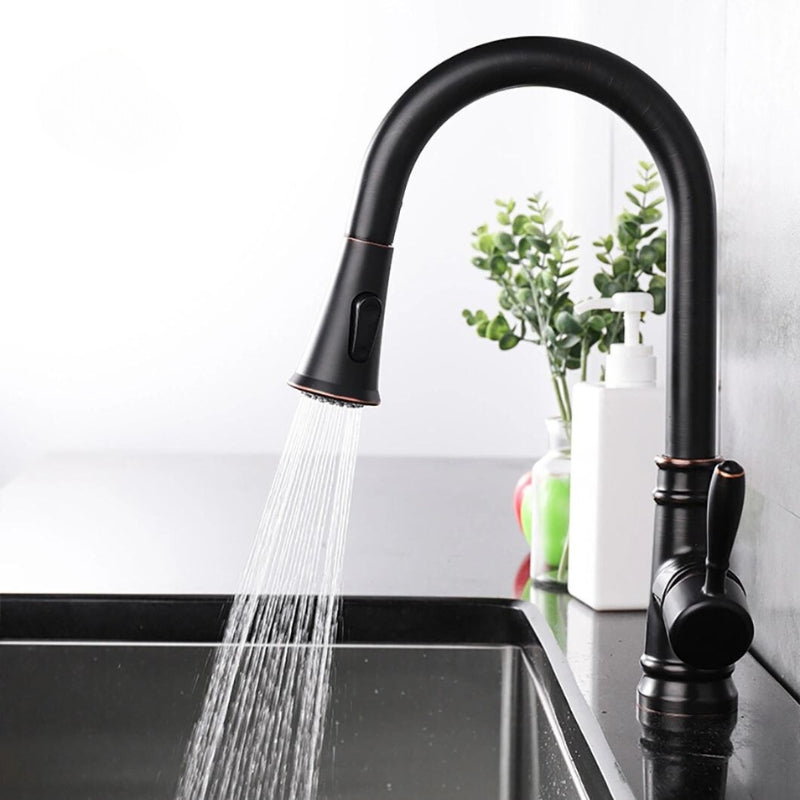
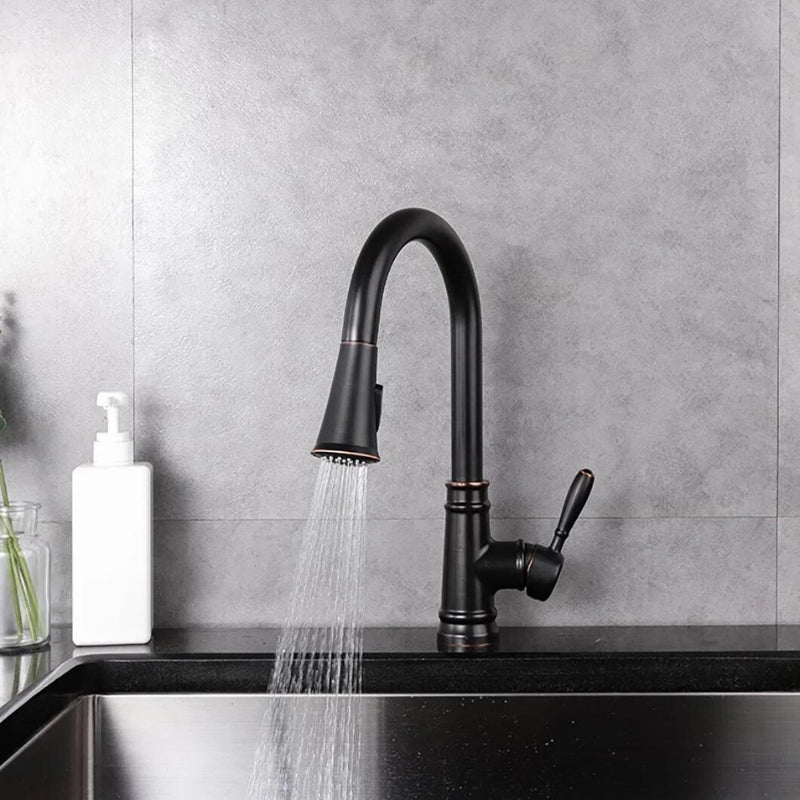
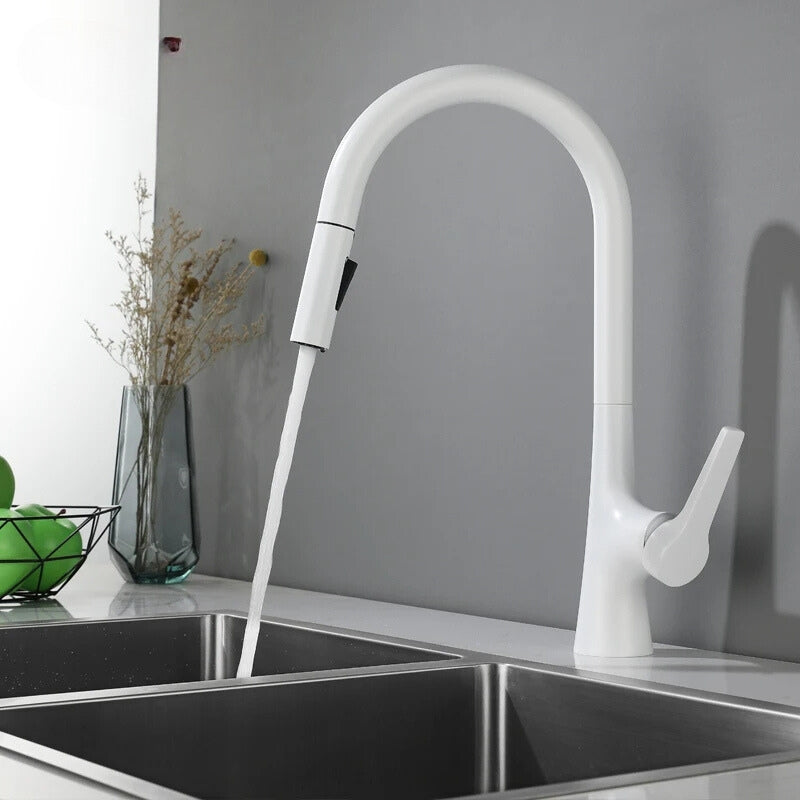
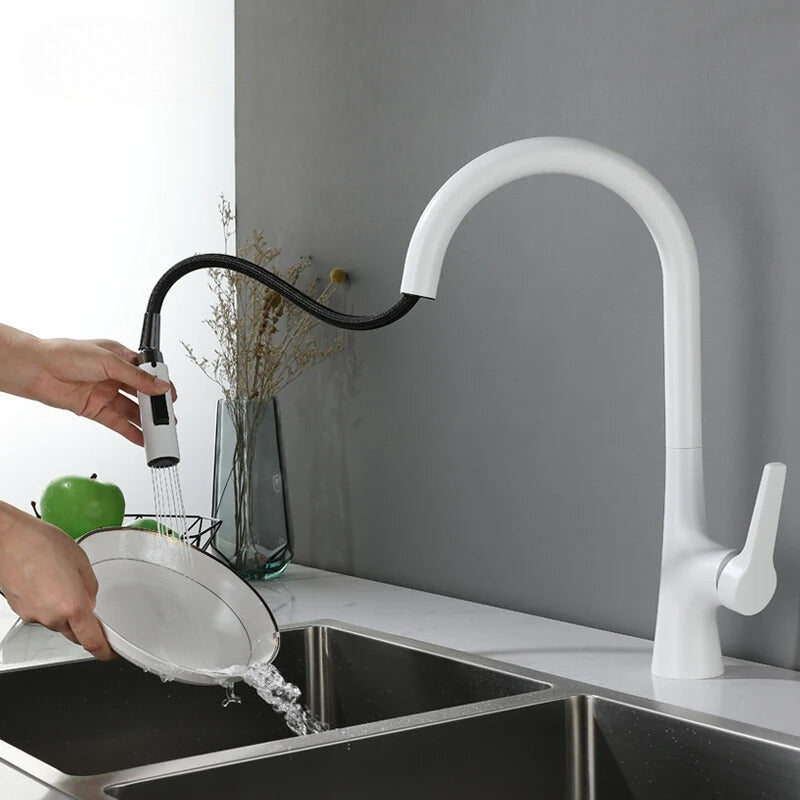
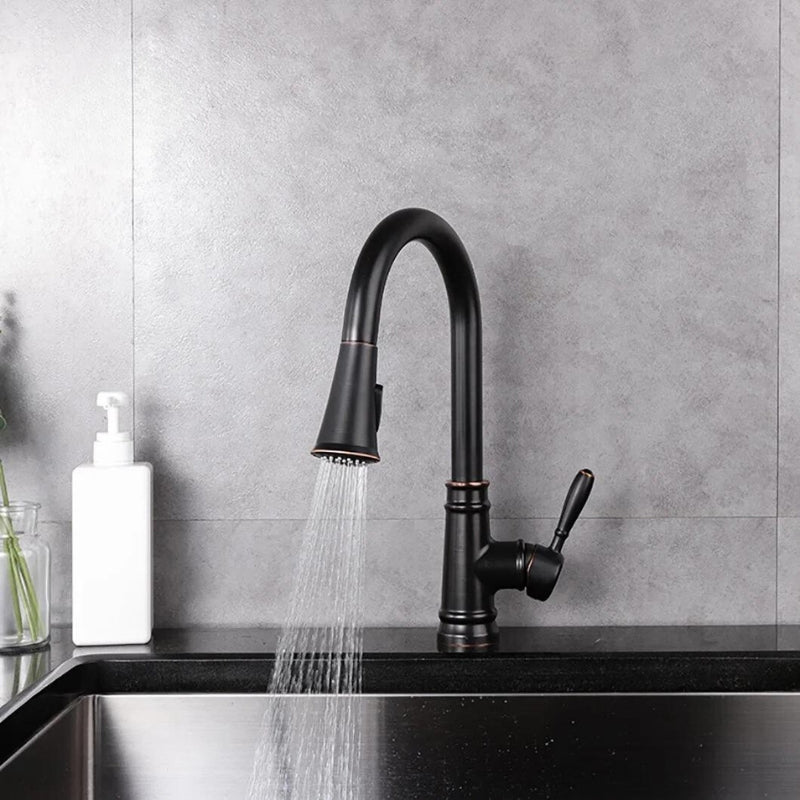
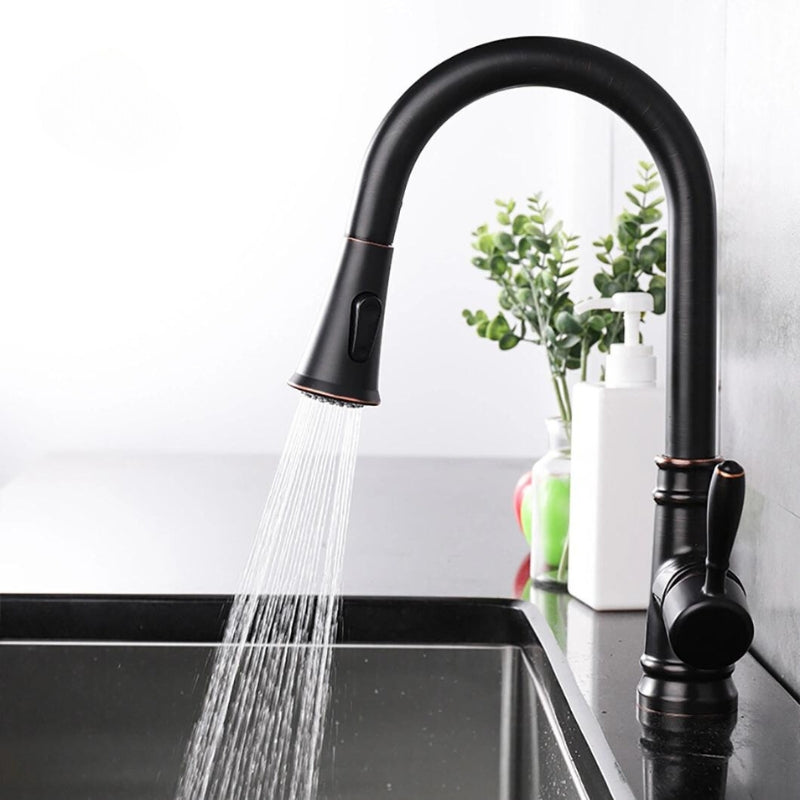
- Kitchen mixer tap with pull-out spray: handy for large pans or washing up.
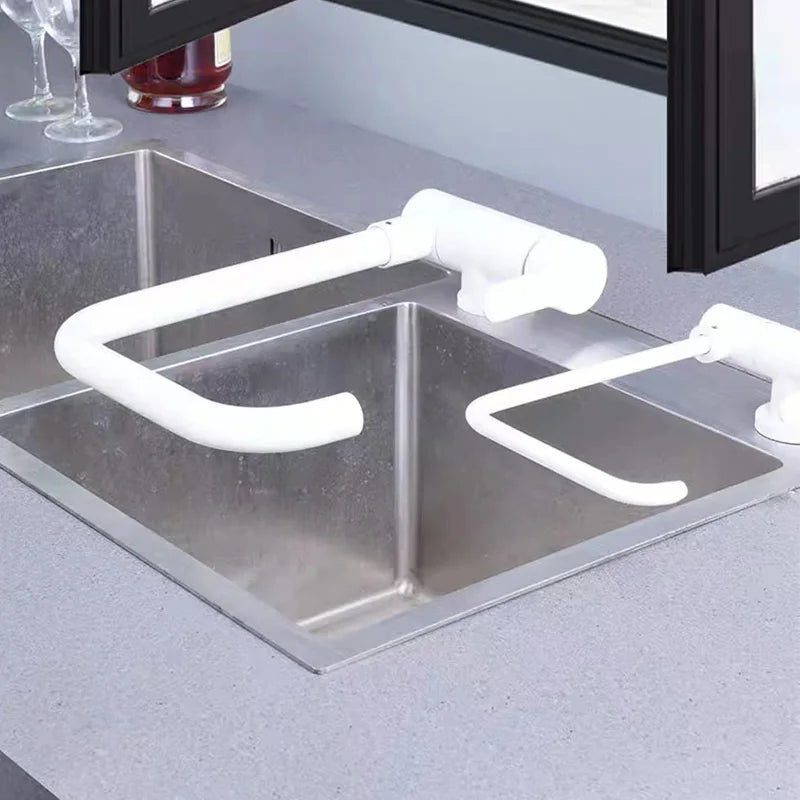
- Fold-down mixer tap: saves space if the sink is under a window or a cupboard.
- Wall-mounted kitchen mixer tap: fixed to the wall, ideal for a stylish installation that is easy to clean.
To decide between these models for your sink, our guide kitchen mixer tap: how to choose the right model gives the right type for each situation.

Tap or mixer tap: what changes when fitting
The method is the same for a mixer tap with two handles and for a single-lever mixer: the body is fixed under the sink with a nut, and the water arrives through two flexible hoses, hot and cold. What changes is the hole layout. A single-hole model needs only one hole: count the holes in your sink or worktop before ordering.
Also check the connection. On our product pages, kitchen taps and mixer taps most often state a 1/2″ connection, sometimes 3/8″, two flexible connectors and a fixing with threaded rod and nut. When changing a kitchen tap with flexible hoses, take the opportunity to replace the hoses too if they are old.
Tools you need before you start
To carry out the replacement, gather:
- an adjustable spanner or a basin wrench;
- a pair of grips;
- a screwdriver, if needed for the fixing;
- a bucket or bowl to catch the remaining water;
- PTFE tape to make the connections watertight if necessary.
Step 1: Turn off the water supply
Close the isolation valves under the sink. Then open the tap to release the pressure and drain the system. Place the bucket under the hoses. This step is essential to avoid splashes and make the job easier.
Step 2: Remove the old mixer tap
First unscrew the hoses connected to the water supply. Use an open-ended spanner or grips, depending on access. Then remove the fixing nut under the sink to free the mixer tap, and lift the old tap out from above. Clean the mounting surface and the area around the old hole thoroughly before fitting the new model.
If the old tap resists, with a seized head, a stuck nut or no visible screw, our article on removing a kitchen tap covers the difficult cases.
Step 3: Prepare the new model
Depending on the model you have chosen, follow the fitting instructions: insert the hoses (or connection kits), position the supplied gasket, then slide the body of the mixer tap into the hole in the worktop. Fix it from underneath by tightening the retaining nut firmly, without forcing it.
Thermostatic models or those with a pull-out spray may need extra adjustments, such as fitting a return spring or setting the mixer.
Step 4: Connect the hoses and test for leaks
Screw the hoses back onto the hot and cold supplies, using sealing tape if the connections require it. Then open the valves carefully and gradually: check that there is no leak under the sink or at the spout. Also test the flow, the temperature and, if applicable, how the pull-out spray works.
Replacing a thermostatic mixer tap: what is different
The thermostatic mixer tap includes a mechanism that keeps the temperature stable. It generally needs precise installation to avoid any leak or fault in the thermostatic body.
Changing a tap or mixer tap with a pull-out spray: tips
This type of model needs a small hook or a weight under the worktop so the spray returns properly. Check the seal at the base of the spray before any test, and that the spray hose slides freely under the sink without rubbing. As for taps, the widest choice is in our kitchen taps with pull-out spray.
Fitting a fold-down or wall-mounted mixer tap
The fold-down mixer tap is perfect for cupboards or windows: it must be very well aligned before fixing. The wall-mounted mixer tap, for its part, often needs a vertical connection and a solid wall fixing.
Tips for a successful installation
- Note the order of the parts as you take them off, to make reassembly easier.
- Check the washers before and after fitting.
- Tighten without forcing, to avoid damaging the threads or the worktop.
- Check the pressure: some models, with a pull-out spray or wall-mounted, need a minimum pressure to work properly.
- Think about maintenance: a limescale aerator can be unscrewed and cleaned, especially if your water is hard.
The questions we are asked most often
Do you need to turn off the water to change a mixer tap?
Yes, always. Close both valves under the sink, or the main supply if they no longer shut, then open the tap to drain the system before unscrewing anything.
How do you unscrew a kitchen mixer tap?
From underneath: first unscrew the hoses from the water supplies, then the nut or threaded rod that holds the body under the sink. A long-handled basin wrench reaches the nut when space is tight. On most models, the swivel spout is part of the mixer tap: it comes out with it, from above.
What tool do you need to change a tap?
An adjustable spanner or a basin wrench, grips, PTFE tape and a bucket are enough for a standard model. A screwdriver may be needed for some fixings.
How do you change a kitchen tap with a pull-out spray?
Like a standard model, with two extra steps: pass the spray hose through the hole before fixing the body, then hook on the weight that brings it back into place. Test the spray pulled out and pushed back before closing the cupboard.
How much does a plumber charge for the replacement?
The price depends on the region and on access under the sink: ask for a quote. If you fit it yourself, the cost is limited to the new tap and, if necessary, new hoses.
How do you know if the mixer tap needs replacing?
A leak at the base, a spout that drips even after changing the washer, or a stiff lever are the most common signs. The details are in our article on the signs of a faulty mixer tap, and the washer repair is in the one on changing a kitchen tap washer.
In short: feasibility and comfort
Changing a mixer tap is not complicated if you are methodical and properly equipped. The job generally takes less than an hour for a standard model. For more technical models (thermostatic, pull-out spray, wall-mounted), allow a few extra minutes to calibrate and adjust properly.
And if you want to update or upgrade your kitchen, take a look at our full selections of taps and fittings, available to suit your preferences and technical constraints.